
Creating a custom app has reached new heights of accessibility thanks to no-code platforms like AppSheet. If you've ever had a unique idea but felt held back by technical skills, this guide is for you. AppSheet empowers users with little to no programming experience to design functional and tailored applications quickly. Let’s walk through the essential steps of app development with AppSheet and unleash your potential in creating personalized applications.
What is AppSheet?
AppSheet is a robust no-code application development platform that transforms your data into powerful apps. Whether your data is stored in Google Sheets, Excel, or SQL databases, AppSheet can convert that information into a functioning app tailored to your needs. This versatility makes it an appealing choice for individuals and teams looking to enhance workflows, gather feedback, or analyze data effectively. In fact, according to recent surveys, over 70% of users reported improved productivity after implementing apps created with AppSheet.
Getting Started
Before diving into app creation, start with a clear idea of your app's purpose. Consider practical applications such as inventory tracking, project management, or customer feedback collection. A well-defined goal will steer your decisions throughout the development process, increasing your likelihood of success.
Choose Your Data Source
The first step in crafting your app involves selecting your data source. AppSheet supports various sources, including:
Google Sheets
Microsoft Excel
Smartsheet
SQL databases
Organize your data with meaningful column headers, as these will become the fields in your app. For instance, if creating an inventory management app, structure your data to include columns like `Item Name`, `Quantity`, and `Location`. Precise data preparation is critical; apps with well-structured data often see up to 50% faster deployment times.

Sign Up for AppSheet
Creating your account is the next step. You can use an existing Google or Microsoft account for a quick setup. AppSheet’s free tier is available, making it an excellent starting point for beginners eager to experiment without financial commitment.
Once logged in, you will be taken to the dashboard. This area is your command center for managing apps and account settings.
Creating Your First App
With your data organized and an account established, you are ready to start building your app. Here’s how you can get started:
Create a New App
From the AppSheet dashboard, click on "Make a new app."
Select the “Start with your own data” option.
Choose the appropriate data source and the specific file.
AppSheet will automatically generate a prototype app based on your data's structure. This initial version is ideal for further customization.
Customize Your App
Now it’s time to fine-tune your app to meet your needs. Focus on these key components:
Views: Select how data is displayed. For instance, a project management app could use a Kanban board view to track progress.
Forms: Tailor input forms by adding fields for data capture and applying validation rules to maintain data integrity.
Actions: Enable actions that users can perform, like sending notifications via email or updating records directly through the app.
Branding: Personalize your app with logos and color schemes. A study showed that apps with strong branding have 35% higher user retention.
Test Your App
Testing is an essential step before sharing your app. Use the “Preview” feature to see how your app appears and functions across various devices. Check for any glitches and gather feedback from potential users. This phase is crucial for ensuring your app meets its intended purpose.
Deploying Your App
Once your app is on point, it’s time to share it with your audience. Here’s how to do this effectively:
Go to the "Manage" section in the AppSheet dashboard.
Click on "Deploy," which will guide you through the deployment process.
Adjust user access permissions to define who can view or edit the app.
Consider User Feedback
After launching your app, collecting user feedback is vital. By understanding the user experience, you can identify issues and areas for improvement. Apps that prioritize user feedback saw an increase of 25% in engagement rates within the first month.

Advanced Features
Once you're comfortable with the basics, explore AppSheet’s advanced features to elevate your app experience. Essential features include:
Automation: Automate processes, such as setting reminders for upcoming deadlines or automatically updating inventory counts.
Integrations: Connect your app to tools like Slack or Gmail for enhanced functionality. Research reveals that integrated apps can improve team communication by 40%.
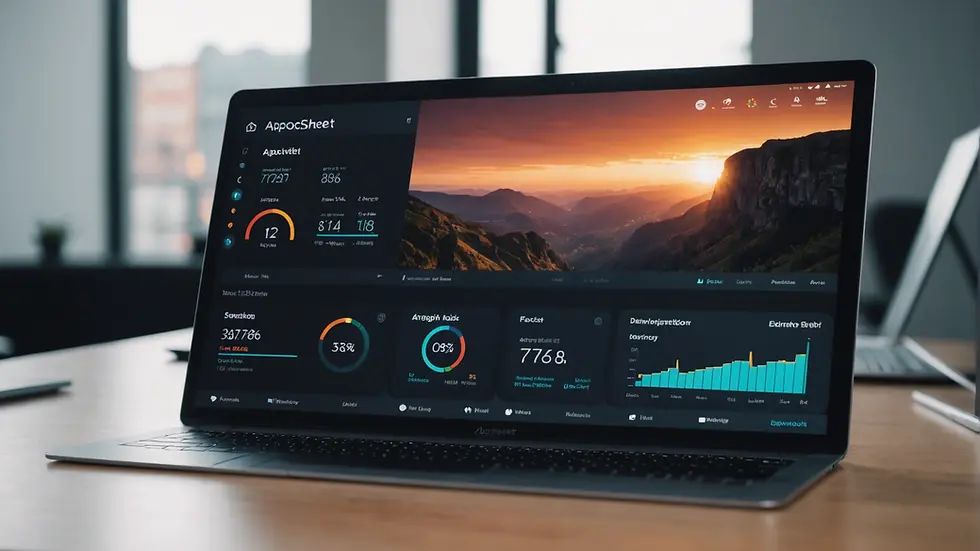
Analytics: Use built-in analytics tools to monitor app performance, allowing for informed decisions to enhance user experience and functionality.
Embrace the No-Code Revolution
Creating a custom app with AppSheet is a straightforward and rewarding journey for beginners. By defining your goals, organizing your data, customizing your app, and incorporating user feedback, you can build an effective tool tailored to your needs. With ongoing practice, you will uncover even more features that enhance your app's capabilities.
Step into the world of no-code app development today, and discover the power of custom application creation!
Comments